|
Click on an image to enlarge it and see the surgeon's comments. Follow the numbers to see the whole procedure in the right sequence. You can view the entire process in steps (click on, view and then close each image separately) or as a slide show (click on any image to view it, then use left/right arrows on your keyboard or arrows that appear on the image control bar to navigate through all images/steps). If you'd like to look at two or more enlarged images - open as many as you like and position them on your screen by moving image windows.
|
|
1.
|
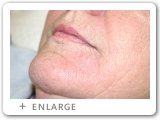
1. The surgeon examines the location of the biopsy proven cancer.
|
2.
|
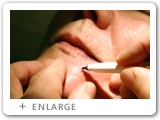
2. The surgeon marks the visible edge of the skin cancer.
|
3.
|
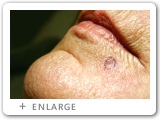
3. Tumor site with margin clearly marked.
|
4.
|
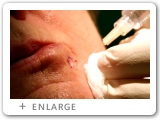
4. Tumor site is frozen with local anesthetic.
|
|
5.
|
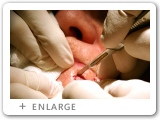
5. The tumor resection margin is incised.
|
6.
|
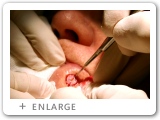
6. Orientation marks are placed to maintain orientation of the resected segments to the patient.
|
7.
|
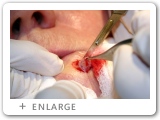
7. The first resection stage is carried out.
|
8.
|
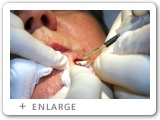
8. Bleeding is controlled with electrocautery.
|
|
9.
|
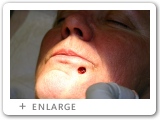
9. Surgical wound after first resection stage.
|
10.
|
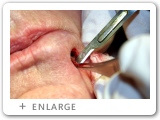
10. Second resection stage is required to remove residual cancer identified during microscopic analysis.
|
11.
|
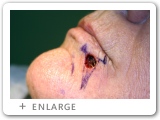
11. Bilateral flap closure is designed to close the surgical defect and maintain the cosmetic architecture of the area.
|
12.
|
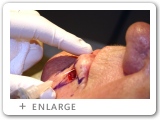
12. Surgical field is frozen with local anesthetic.
|
|
13.
|
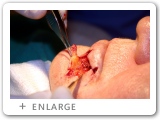
13. Redundant tissue is excised.
|
14.
|
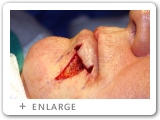
14. Flap site with redundant tissue removed.
|
15.
|
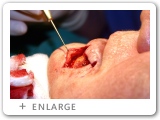
15. Flaps are elevated in the fat under the skin.
|
16.
|
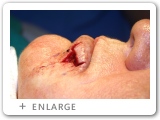
16. Deep dissolving stitches are used to bring the flap edges together.
|
|
17.
|
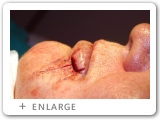
17. Flaps closing the greater part of the Mohs defect.
|
18.
|
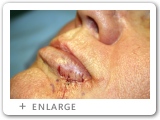
18. Flaps inset with deep stitches.
|
19.
|
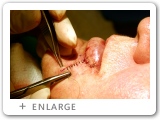
19. Skin surface is closed with non-absorbable stitches.
|
20.
|
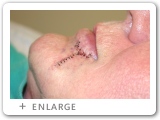
20. Final appearance of wound before dressings.
|


